|
|
|||||||
| Knife Kits Forum New to the art of knife making? Learn to make awesome knives, using advanced hands-on training inside. From KnifeKits.com. |
|
|
Thread Tools | Display Modes |
|
#1
 11-17-2006, 05:24 PM
|
|||
|
|||
|
Another DDR3BL
ok so nothing really special. one of four in an order. pearl acryilic handles from texas knife, file work on blade spine, horrible camera. lol hope you guys like it.
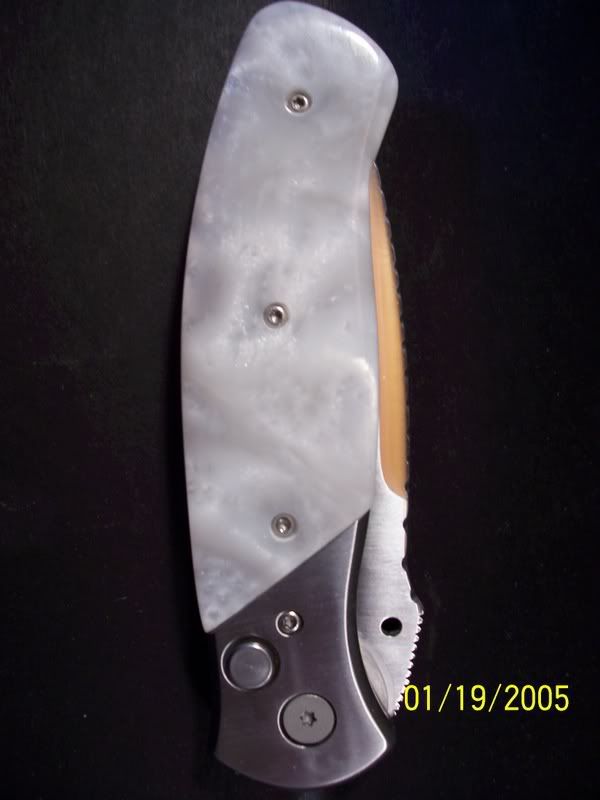 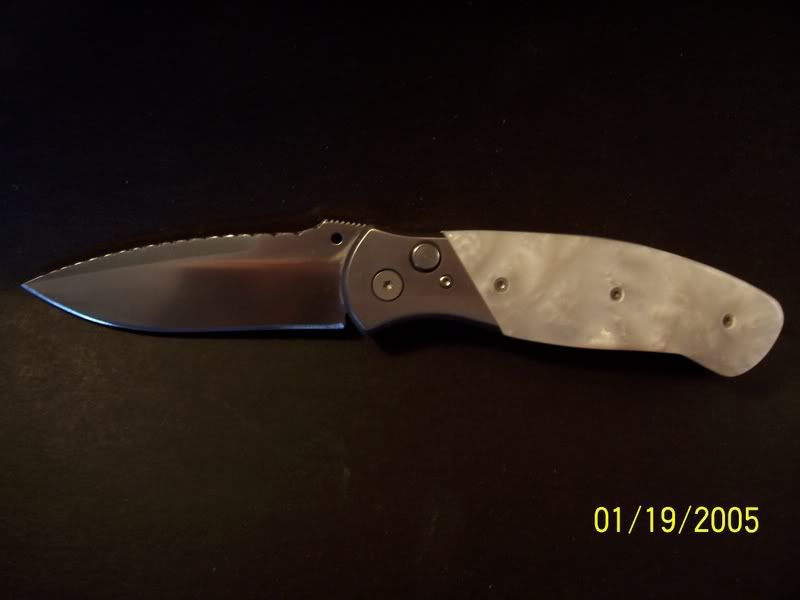  thanks for looking derek |
|
#2
11-17-2006, 07:49 PM
|
|||
|
|||
|
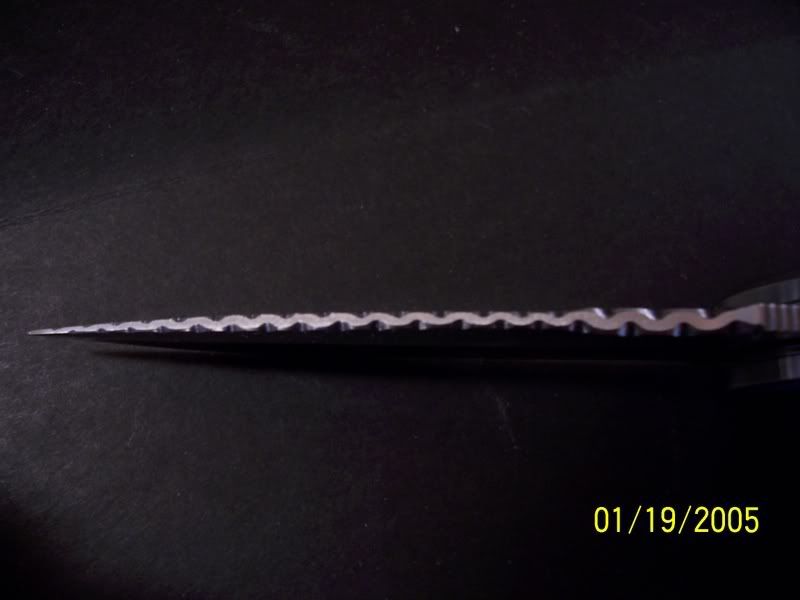
not bad. what did you use to file the blade?
Ed __________________ Gold is for the mistress - silver for the maid Copper for the craftsman cunning in his trade. "Good!" said the Baron, sitting in his hall But steel - cold steel is master of them all. Rudyard Kipling (1865 - 1936) |
|
#3
11-17-2006, 09:54 PM
|
|||
|
|||
|
dremel all the way......tungsten carbide cutter......greatest invention for filework.
|
|
#4
11-17-2006, 11:59 PM
|
|||
|
|||
|
Hey Derek.
You've been knocking these out like crazy! I'm looking forward to seeing some of your stuff in person. I've got some ideas or things to look out for if you care to know. If not, don't read it!! Just kidding, I know you want these to get better each time. You've got good fit between the scales and bolsters, but keep an eye on the little things. The top photo appears to have the screw next to the bolster sanded down too much. It appears flat if you know what I mean. All that means is that you probably drilled the countersink before you matched it to the thickness of the bolster. You can take your countersink drill and turn it a few times by hand in the hole to lower the depth safely. And then use a new screw to match the others. It also looks like the middle screw isn't deep enough but the next picture appears OK. Just make sure they're all the same. I know that the file work on the blade took you a while but before you sell this one, take some more time and work on your eveness. Get your small files and work on the sharp corners, look at the thickness of the vine and wherever it is the thinest (around the middle of the blade), make the rest of the vine the same. Technically, a vine gets smaller towards the end but that'll come later. You have some "S" that don't touch the edge of the blade, so make the rest like those. I guess what I'm saying is look at each "S" and using your hand files, lightly work the ones that stick out to get more consistency. Sometimes you have to use a rocking motion with your file to get the rounded corners flowing and not flat. Then when you're done, take another photo of the blade and put it next to the original so we can see the difference. OK? You can also mirror polish the pivot screw on both sides pretty easily. It makes a good contrast against your satin finsh. You're doing a good job. I have a couple people look at each step to make sure I didn't miss something. Lauren could do that and it'd really help you start getting your prices up a little more. You said you're charging around 80...if you increased that to 115 you'd make over $1000 more that month. It's going to take better and better quality, and you can do it! Bill |
|
#6
11-18-2006, 11:02 AM
|
||||
|
||||
|
Quote:
  GREAT WORK!  G. __________________ http://ak-adventurer.net/  Gary Blessing, Ex-custom knife maker, Ex-Folder modifier & embelisher. |
| Tags |
| blade, knife |
| Currently Active Users Viewing This Thread: 1 (0 members and 1 guests) | |
|
|


 Linear Mode

