|
|
|||||||
| High-Performance Blades Sharing ideas for getting the most out of our steel. |
 |
|
|
Thread Tools | Display Modes |
|
#1
 11-21-2006, 01:49 PM
|
|||
|
|||
|
Forging Wootz steel
Here is a small wootz blade that i'm working on
I forged 3 knives today and this last one is from some wootz barstock... -- the bar was heated up and hot cut .... -- the rough shape was forged.....and it was left very thick - then some grooves were ground into the blade... this should make some pattern.... it was ground into both side of the knife.. - now the blade is flattened out... -- then the bevels/ knife edge is forged in...... - now bevel is forged wider -- lastly there the knife is normalized three times to refine the grain... 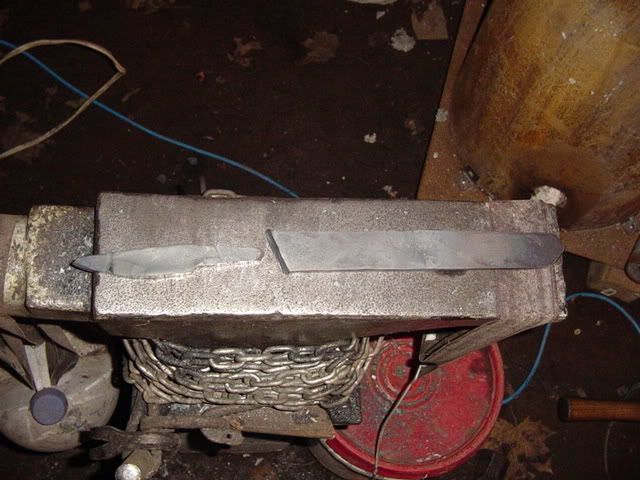 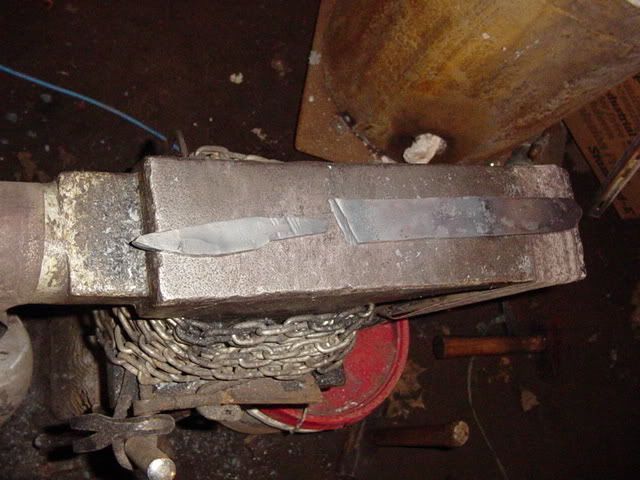 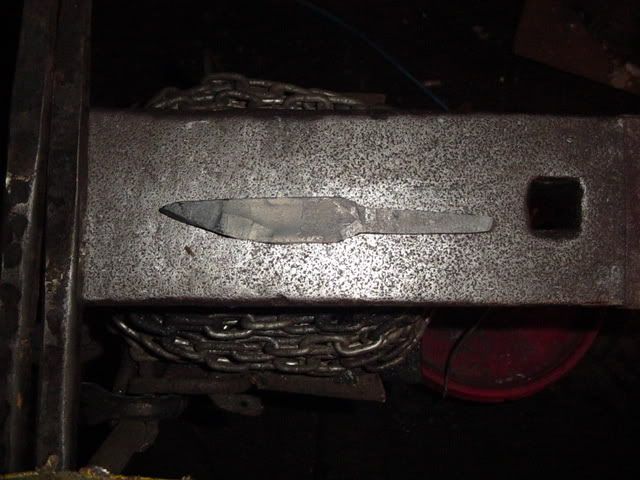 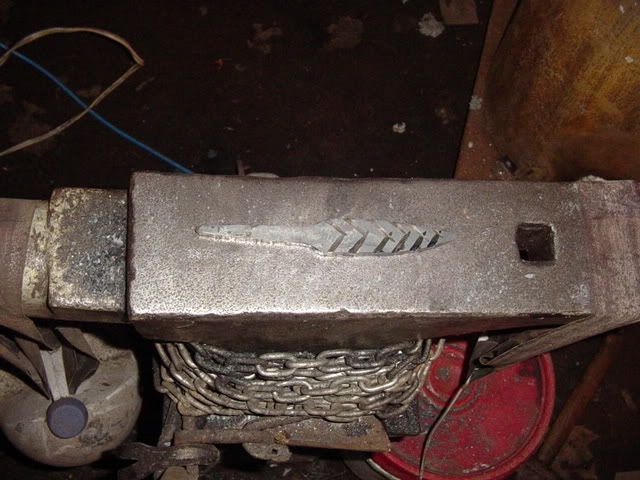 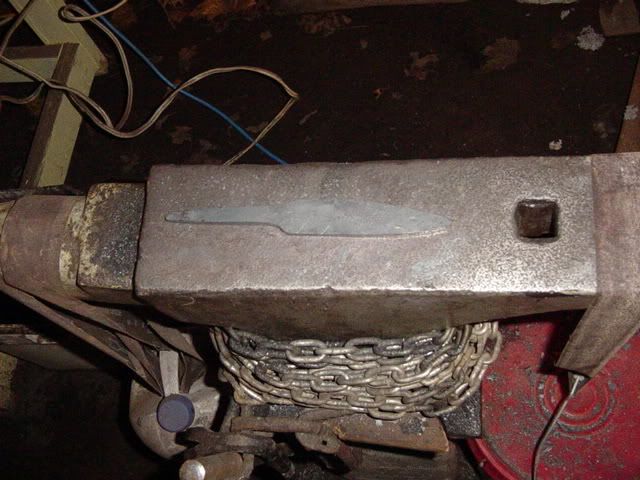 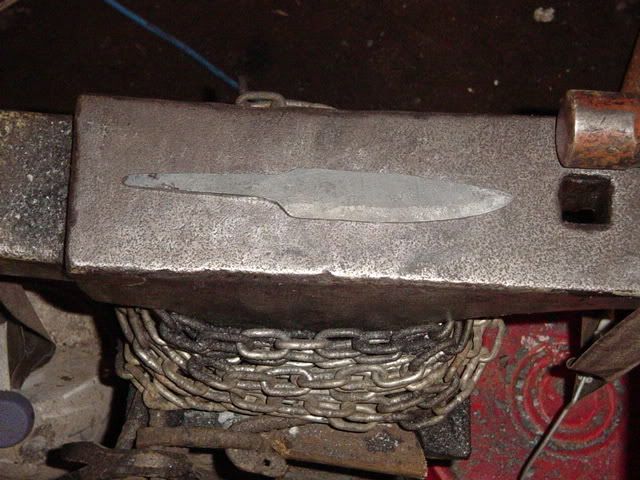 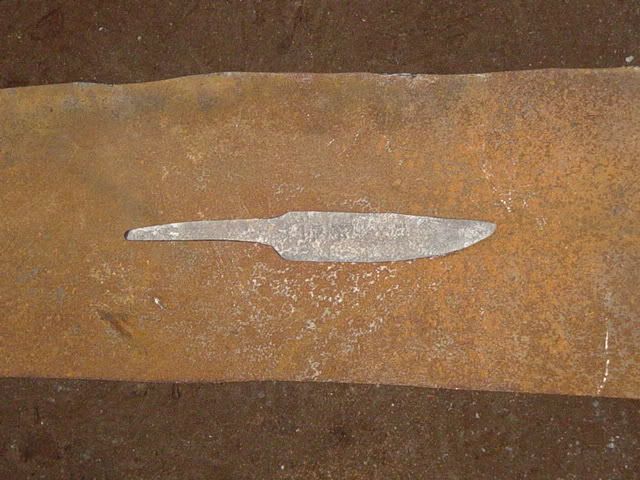 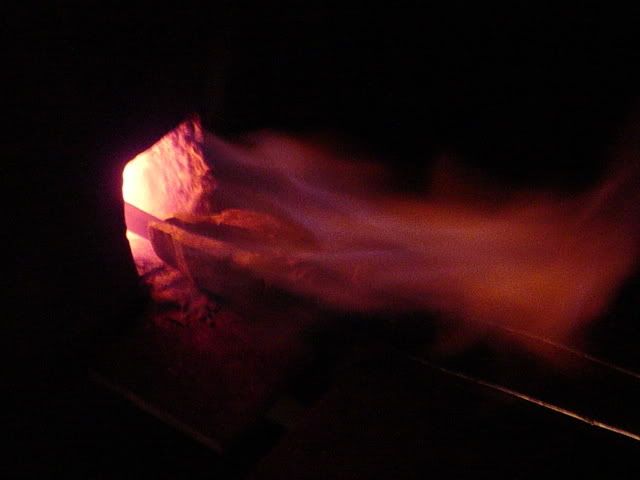 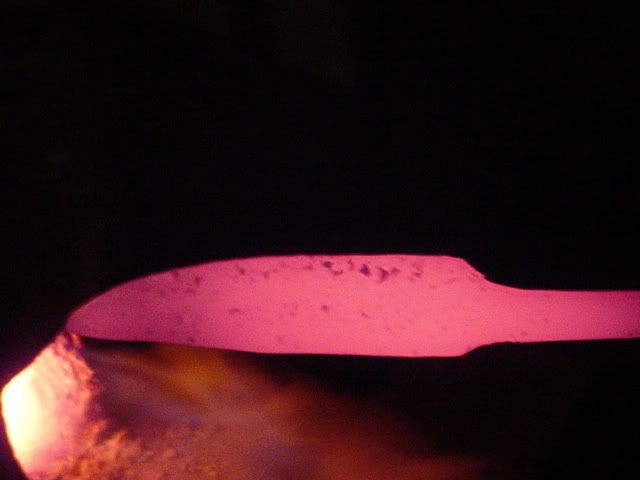 hopefully it will be a good knife under all that scale... part 2....stock reduction .... comin soon 
|
|
#2
11-21-2006, 01:53 PM
|
|||
|
|||
|
here is the second part..... the stock reduction... and i'll walk you through my steps...
1) i left the hot blade in a bed of kaowool to cool slowly.....so it is soft in the morning..... (along with the other blades i forged that day ) 2) first ....i grind the profile of the knife....and get the shape i'm going for..... now i set up a flat on the back of the spine... and the clip areas.... also make a line with a set square where the tang blade junction is.... and grind the shoulder in...... don't worry we will file the shoulders square, later on with a file jig 3) now i grind a flat at the top of the blade.......using 40 grit belt.... we have to knock the bark off the blade and set up the flats... 4) refine the flat of the blade further... and do the other side with a new sharp belt...... 5) now lets set in the bevels..... grind a sharp or step bevel on both side... most of the bevel was forge in, so it should be easy to follow the angles..... Now both sides are done... and grind the bevels up higher toward the spine for a more full grind... umm... Time out here..... I usually do stuff by hand as i only have an entry level coote grinder.... .. i really have a dream to own a Bader3 grinder, so please have mercy and don't make fun of my grinds... haha 6) ok..... got the grind up close to the spine..... now lets flatten every thing on the disc grinder.... both the bevels and the spine... 7) lets move up to 120 grit and start to convex the grind....and get rid of those grind lines..... i find have grind lines on a wootz blade steals from the canvas of waterings... its the waterings that matter most !! 8) now up to 360 grit....... the pattern has been visible to me since i started grinding with 40 grit...... if you look close you may see some of the pattern in the last photo... or at least i can on the original photos on my computer... 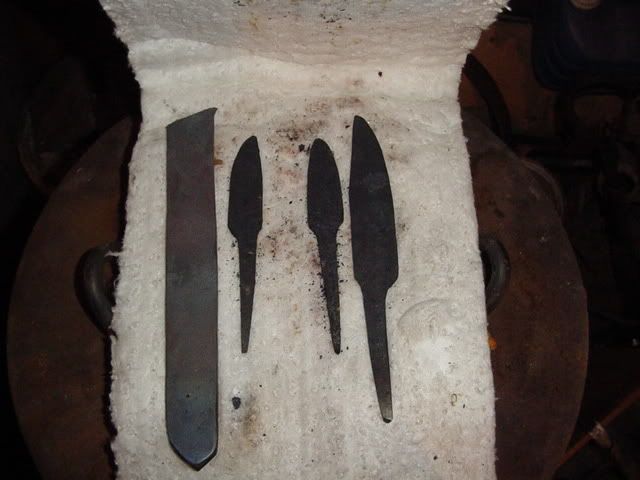  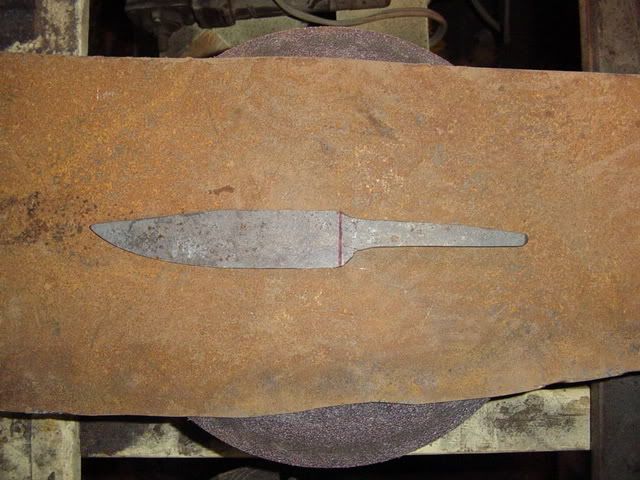 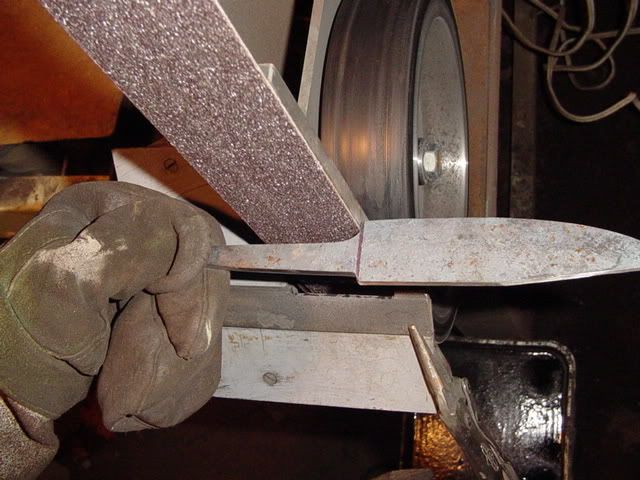 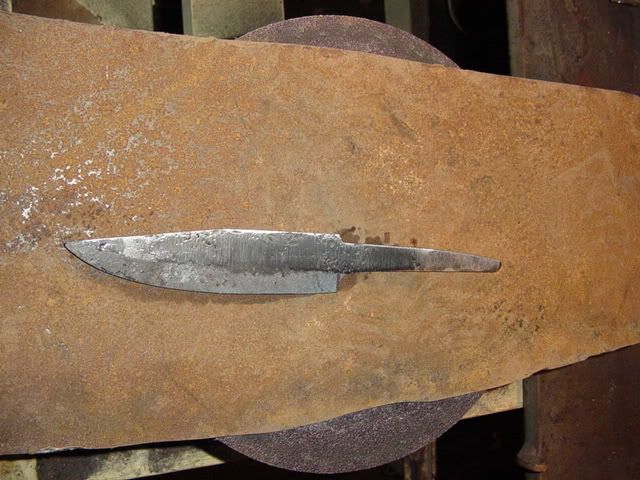 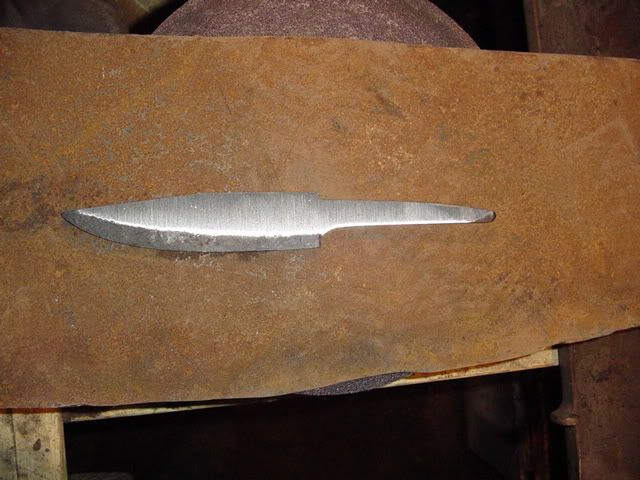 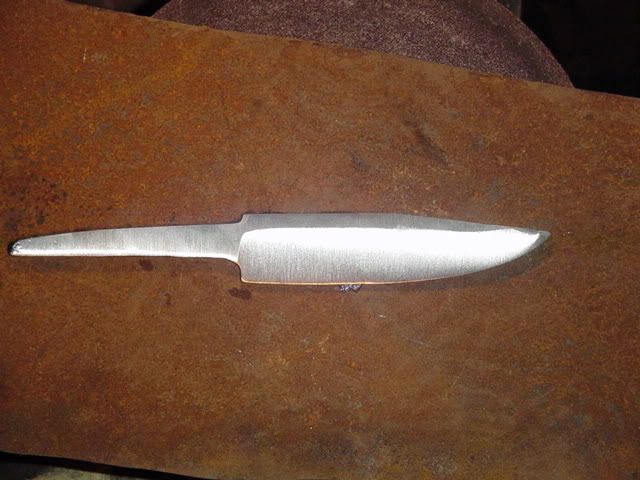 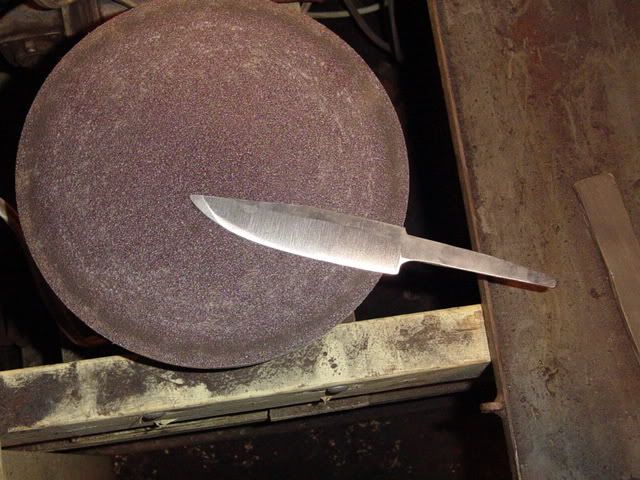 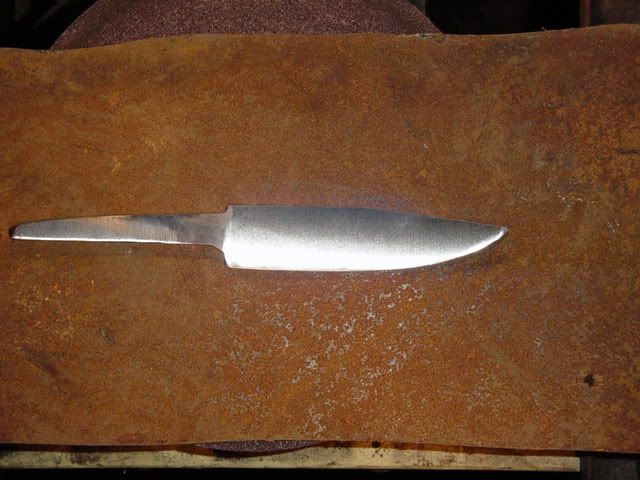 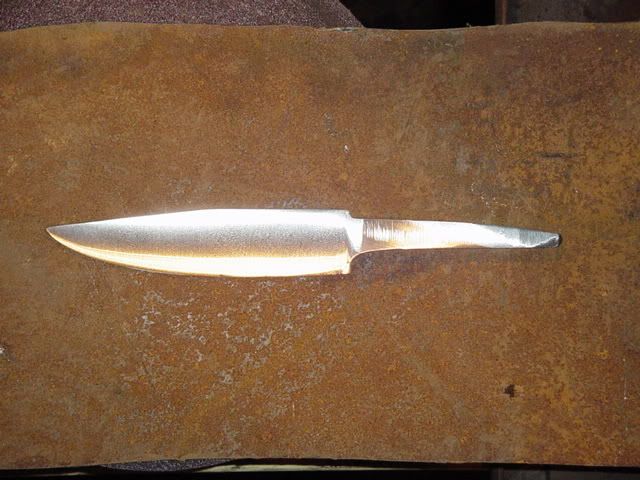 next is the heat treatment stage
|
|
#3
11-21-2006, 01:57 PM
|
|||
|
|||
|
heres a bunch more
1- first we have to square the shoulders up on the blade tang junction... this is so the blade sit's flat to the guard later on... first i put a tape to protect the blade and put it in my filing jig...... I make the jig square to the spine of the knife.. 2- now i lock the knife in the vise....... and use a long bastard file to square up the shoulder..... the file jig is made of O1 tool steel and the file cannot eat it.. 3- Polish the blade..... for this i lock a piece of angle iron in the vise.... now use a C-clamp to hold the blade to it..... Now lets do some polishing with 400grit to start...... use wd40 for lube.... and i use a piece of A2 precision flat ground steel to wrap my sand paper around... it is very flat and this is important... -- i work my way up to 1200 grit Lets take a look 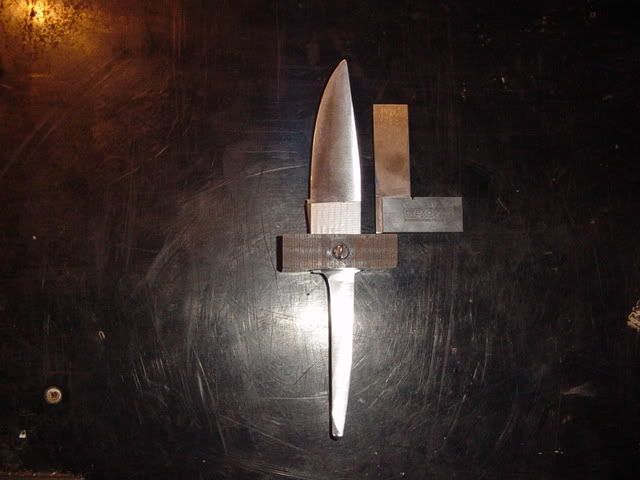 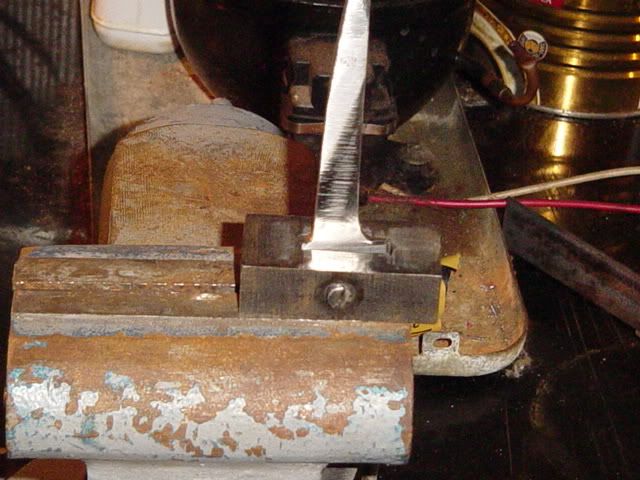 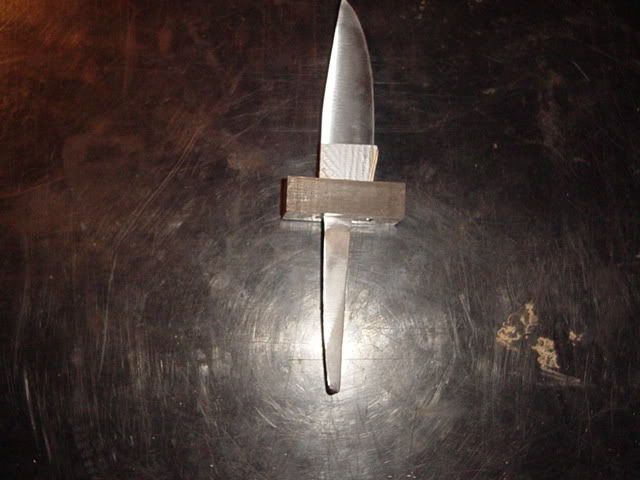  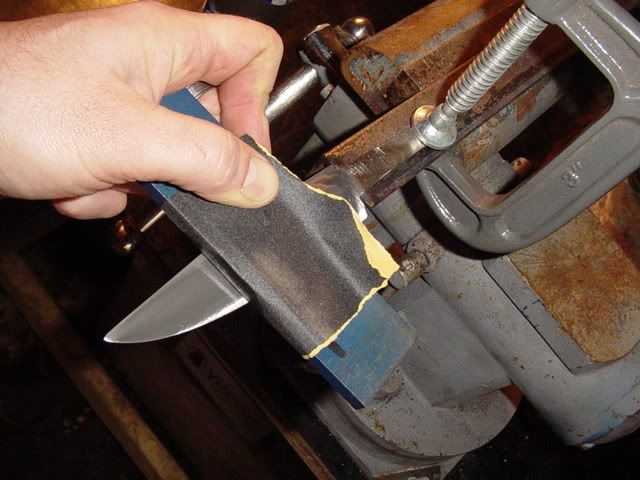 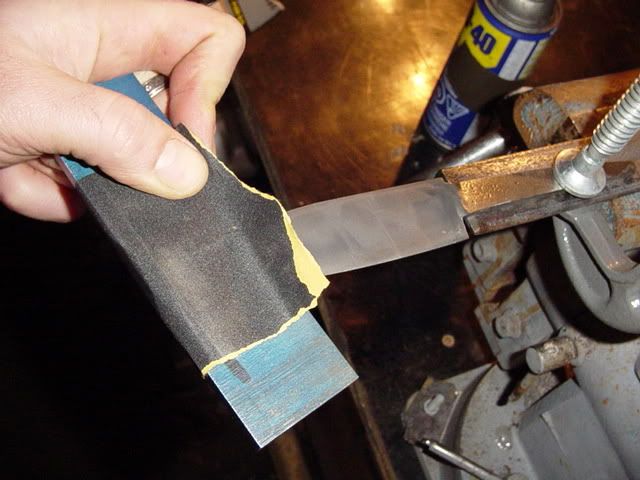 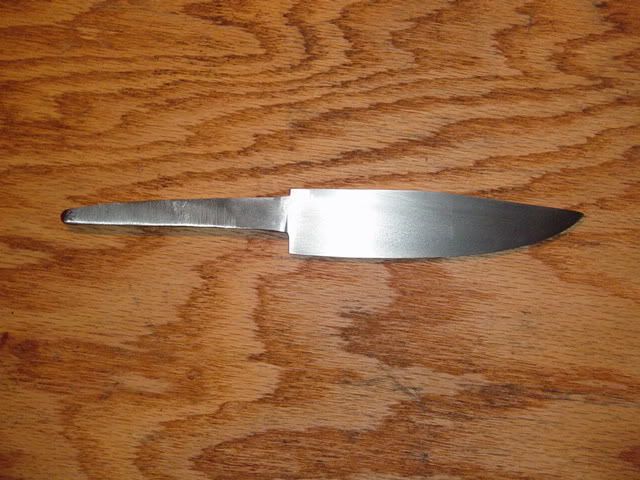
|
|
#4
11-21-2006, 02:00 PM
|
|||
|
|||
|
Heat treatment
1- lets fire up the forge.... and normalize the blade and get rid of some grinding stress -- now lets heat up the tang and ricasso of the knife, first -- once it is hot and close to non-magnetic.... i then switch the blade around and put the blade in the forge.... keep the heat low... 2-- Now when the whole blade is non- magnetic... hold it at this color... now make sure the whole blade is an even color...... Make sure your forge is dark so you can see the true colors of the steel... Quench the blade in Hot canola oil... till its cool to touch by hand.... now take the blade out and inspect it for warpage....... the blade came out straight and now it has to be tempered in the oven..... at 400 F for an hour.... and tomorrow i will do it again to be safe... 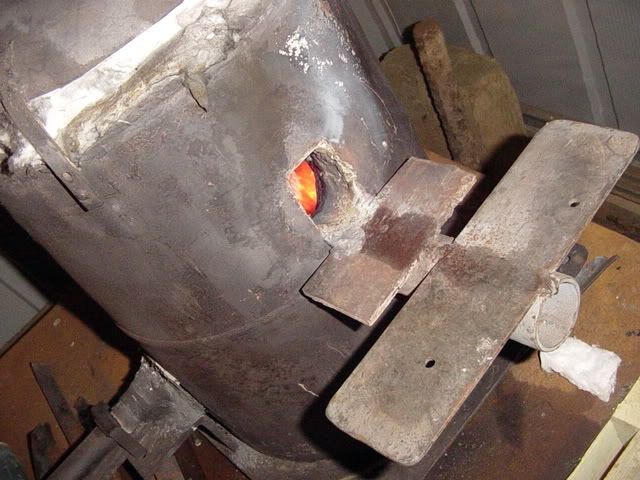 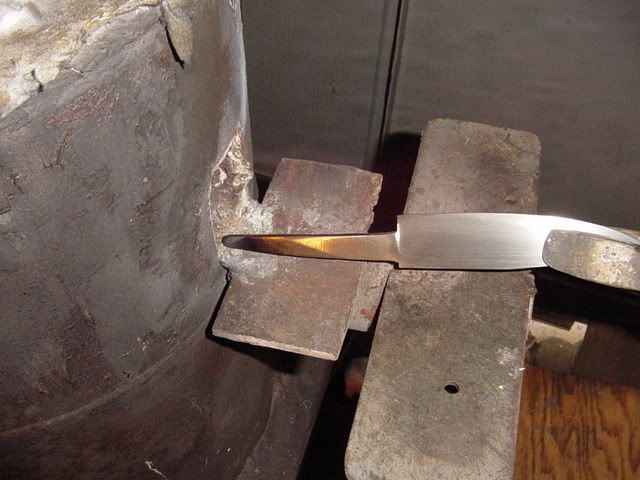 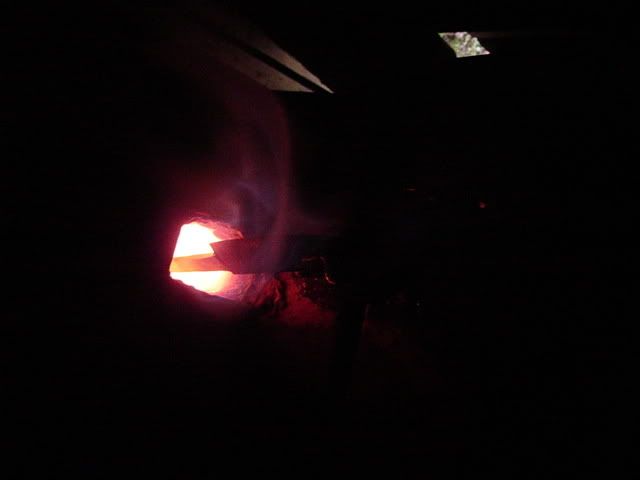 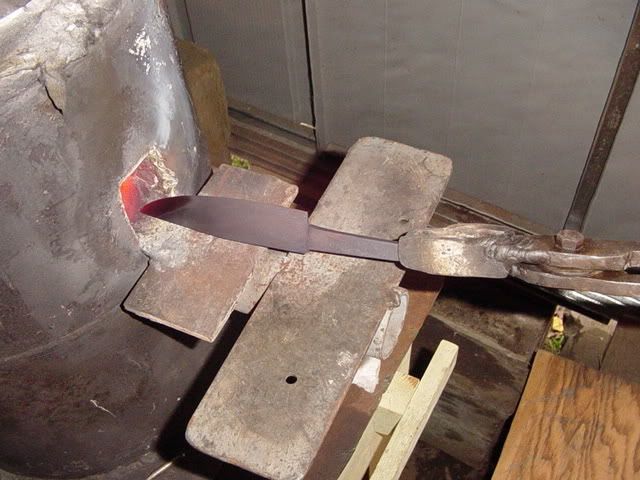     now the blade is repolished back up to 1200 grit and ready for the next step Last edited by Greg obach; 11-21-2006 at 02:07 PM. Reason: forgot a step
|
|
#5
11-21-2006, 02:04 PM
|
|||
|
|||
|
Ofcourse if you know wootz... you know that you need to etch it to see the 2 phases of the steel...
The Etch -- i use a dilute nitric... but you can use many types of acid to get your pattern.. ... -- first --degrease the blade with gloves on -- etch the blade in a clear glass tube so you can watch the progress of the etch... ... use the dark containers later on when you have more experience -- pull it out and immediately put into the neutralizing bath of baking soda... -- then wipe it down fast with rubbing alcohol...... to dry it out.... then pat it dry with a dry towel this must all be done quick.... or you may get some flash rusting... Hold on.... here is some pictures to show you.. 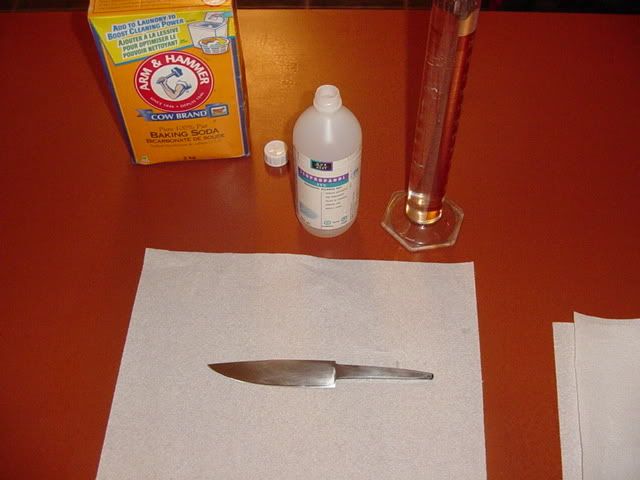 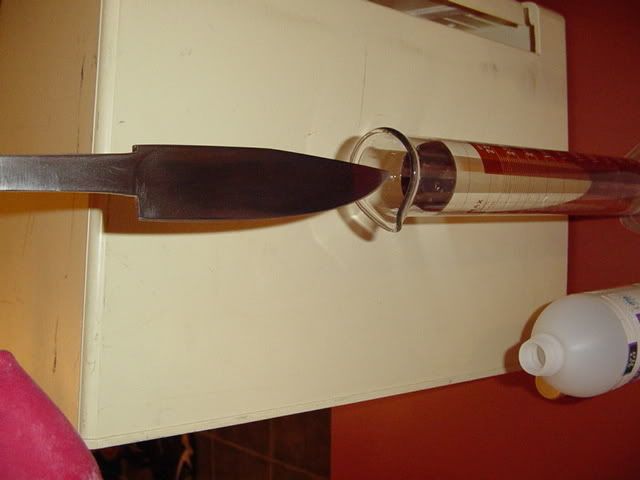 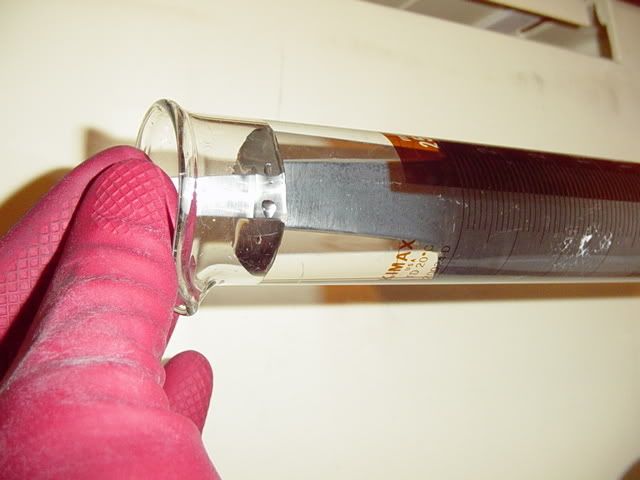 it is a very frustrating process... lots can go wrong Hold on.... here is some pictures to show you..
|
|
#6
11-21-2006, 02:11 PM
|
|||
|
|||
|
I tried my best to photo the pattern... its so difficult... tried many camera angles and different lights..... i have some pictures...
not a bad pattern at all 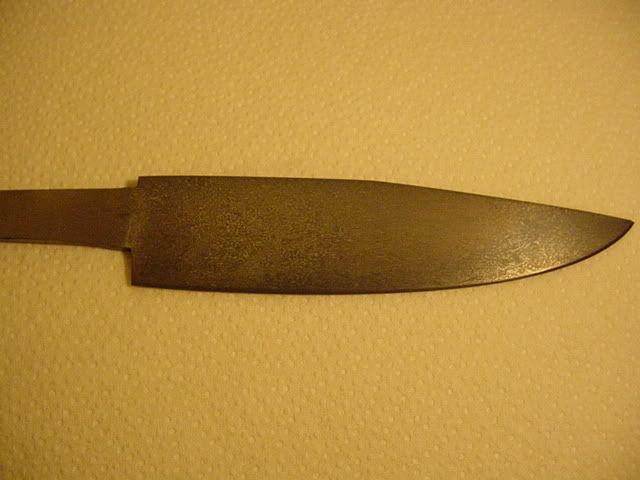 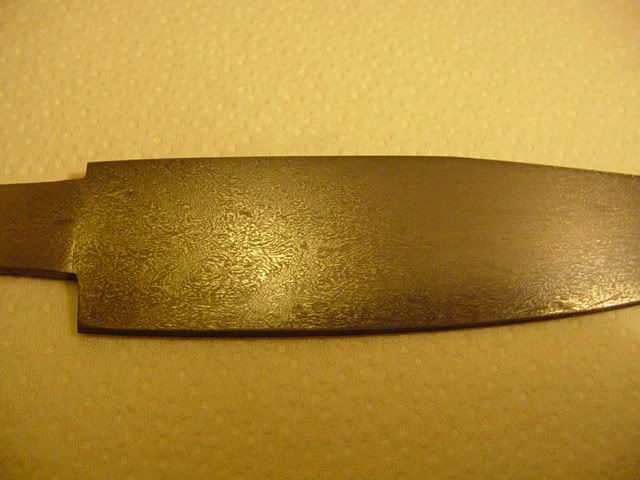 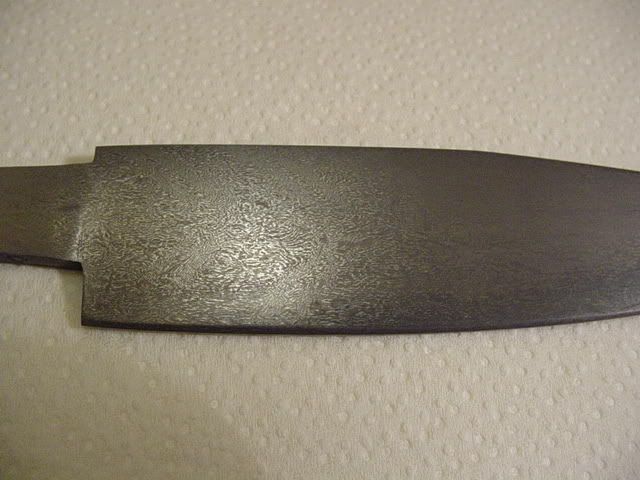 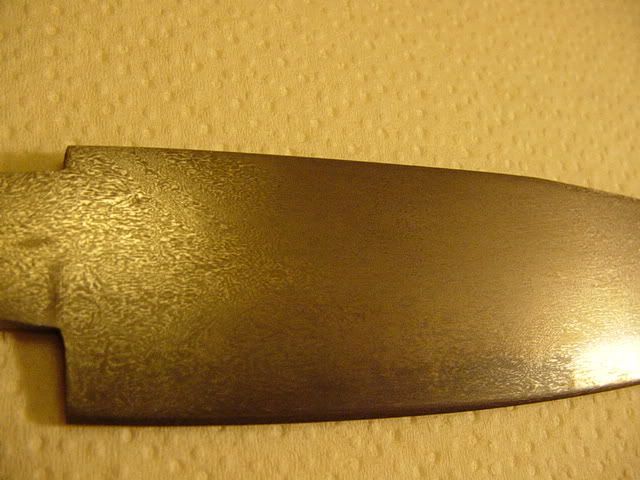 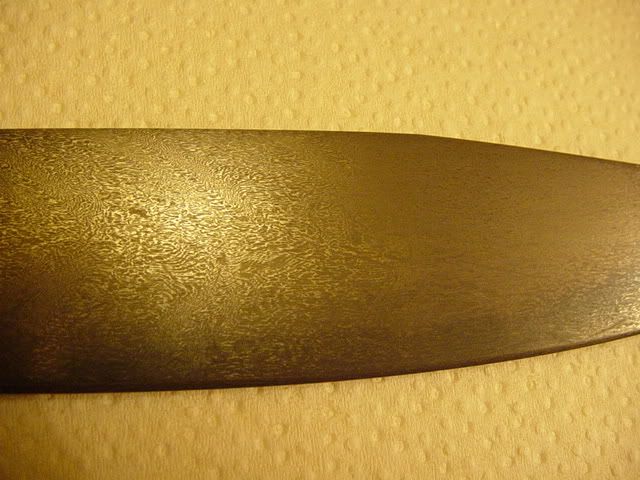 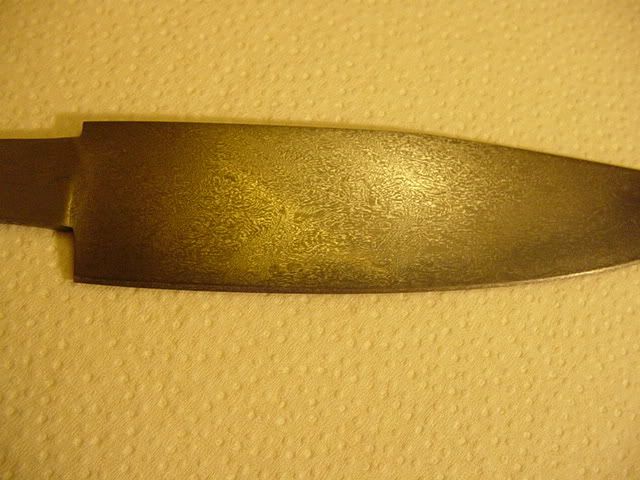 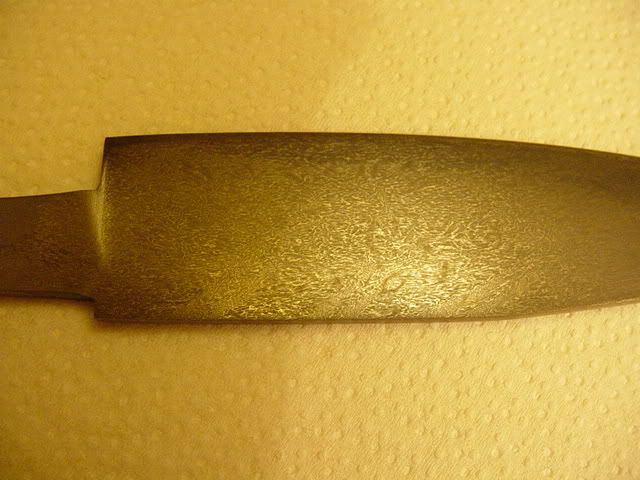 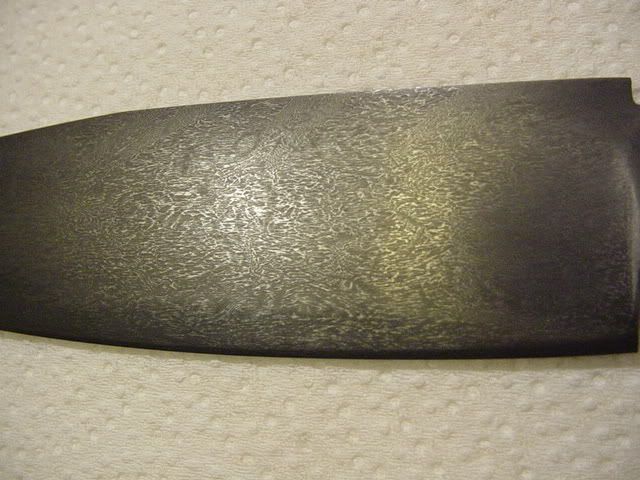  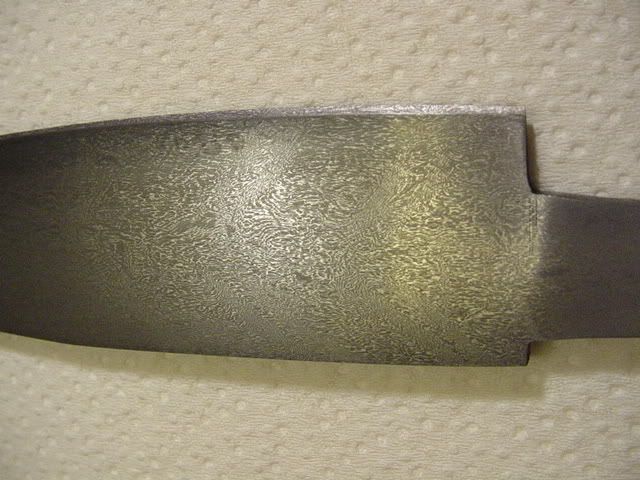 thank you for looking Greg
|
|
#8
11-21-2006, 03:51 PM
|
||||
|
||||
|
Thanks for posting that Greg. It takes alot of work to get that many pictures taken and uploaded. The pattern shows up great and the knife I am sure will totally rock when you get it finished.
|
|
#9
11-21-2006, 04:58 PM
|
||||
|
||||
|
Wow it turned out awesome Greg, I am looking forward to seeing the finished knife.
Great work and thanks for the pics. Bob
|
|
#11
01-25-2007, 11:19 AM
|
|||
|
|||
|
I get nitric acid through a lab here, but they order it from fisher scientific supply.
Randy
|
|
#14
06-03-2007, 08:18 AM
|
|||
|
|||
|
thanks guys
the nitric is hard to get ahold of... you can sometimes get it at cleaning supply stores that make their own products... or chem supply places.... you'll have to really do alot of searching to find a friendly place that sells it..... most places are just stupid with their regulations... ... but remember it is a very dangerous product aswell...  but the dilutions you use for etching wootz are very low... maybe strong like store bought vinegar...so its safe at that level.... i find nitric is more likely to give wootz that nice blueish color while ferric gives it a sickly grey... (sorry, i'm not a ferric fan for wootz... while it works well for patternweld... i don't like it at all for wootz ) Colin... its on my bench.... and i just have too much on my plate to take it further... but it won't be too much longer... ( i hope ) take care Greg
|
|
#15
06-04-2007, 01:11 AM
|
||||
|
||||
|
Quote:
Yah Greg, I know what you mean, so many knives, so little time ")
__________________ colin@britishblades.com
|
|
| Tags |
| blade, forge, forging, knife, knives |
| Currently Active Users Viewing This Thread: 1 (0 members and 1 guests) | |
|
|


 I just sent you a PM


 Linear Mode

