|
|
|||||||
| Knife Photography Discussion Share and improve your techniques on knife photography. Web and print imaging discussions welcome. Come on in ... |
 |
|
|
Thread Tools | Display Modes |
|
#1
 04-30-2007, 09:51 PM
|
||||
|
||||
|
working manually with D50
Light box with 2 500 watt floods; ISO 80; f11; 1/60th I think for the manual. The other is full auto. Any advice?
I am playing with the camera in manual mode: 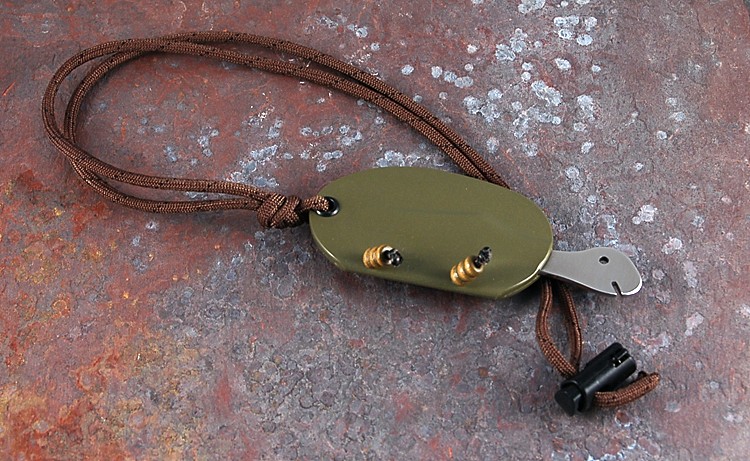 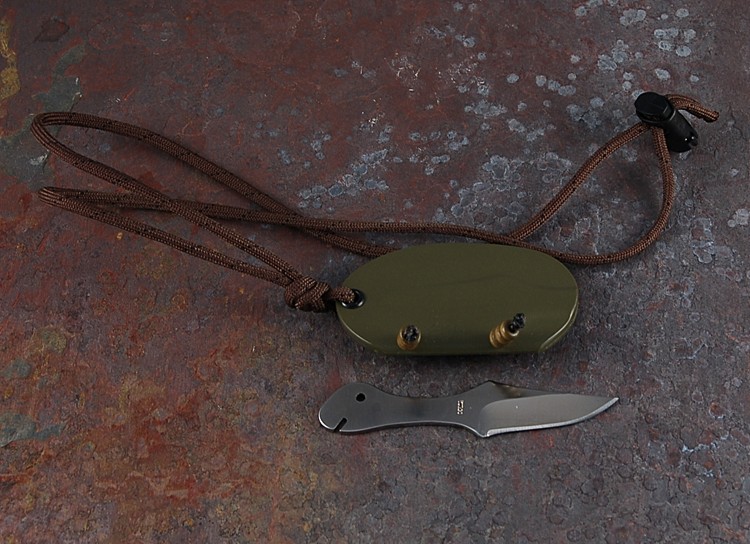 An interesting Mickey Yurco Creation 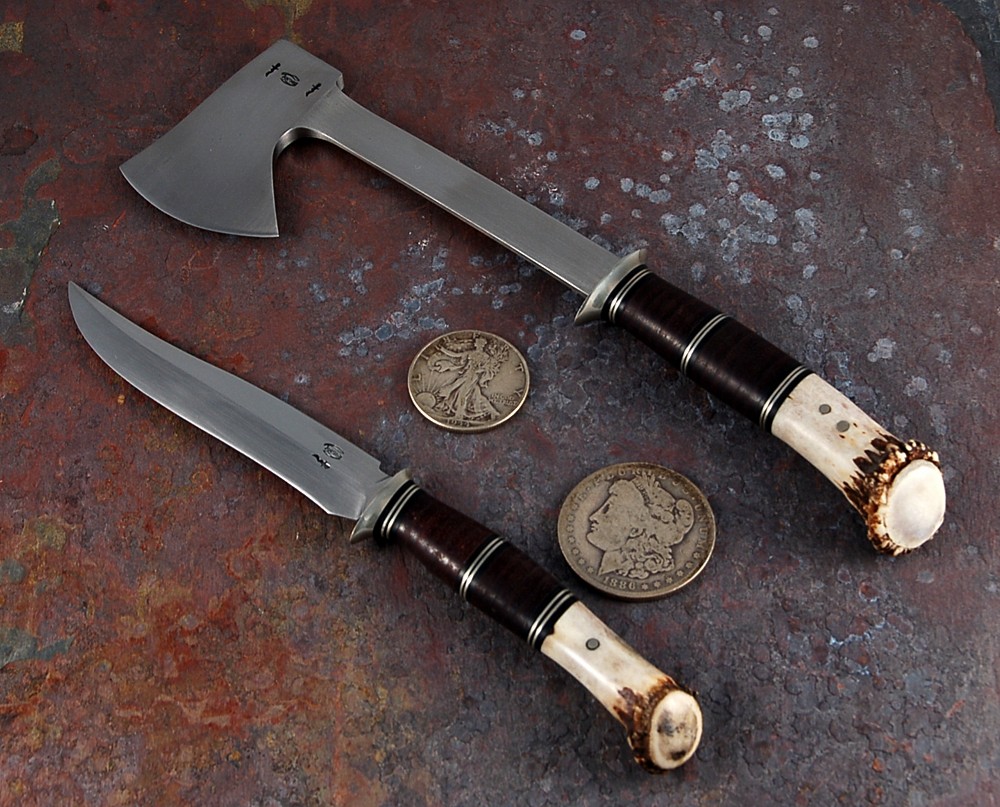 Manual Settings with contrast adjusted automatically 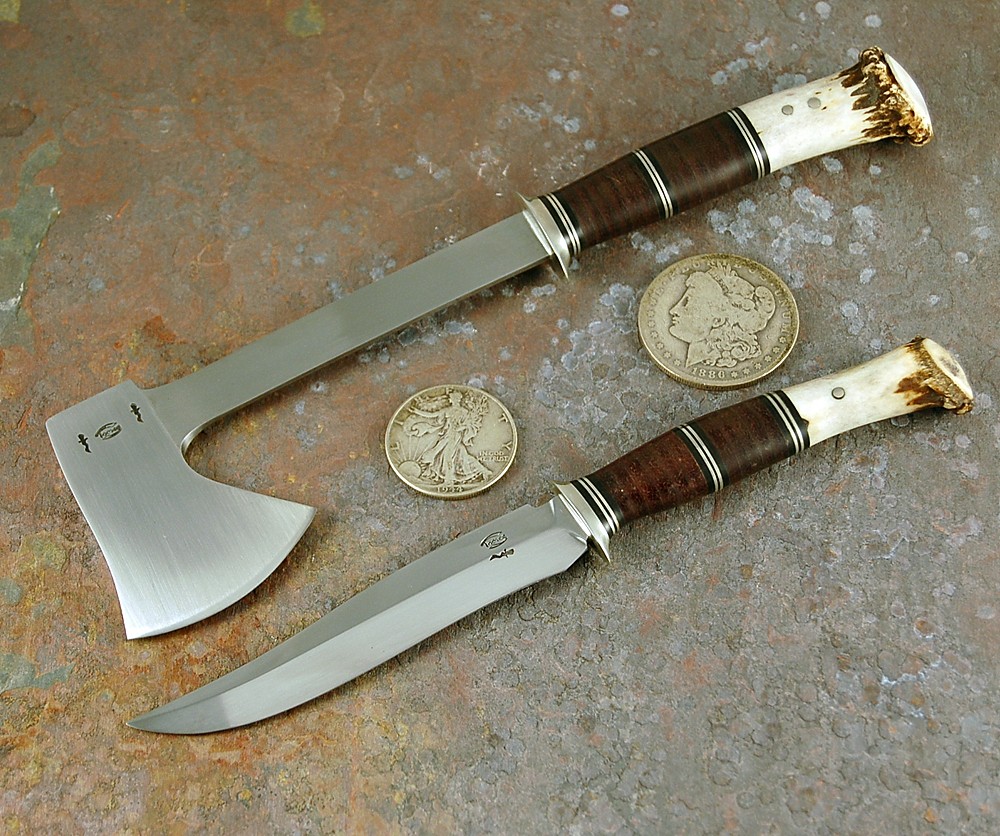 Auto with color and exposure adjustments - I just noticed I cut some light out on the tip of the knife darn it! 
|
|
#2
05-01-2007, 10:19 PM
|
||||
|
||||
|
Obviously the first and fourth image have much better exposer adjustment. From your descriptions I can't figure out if you shot some full auto and some manual; and if so which are which? For example is the second image shot with the settings described above the first. Or, with the third image having the contrast adjusted automatically while in manual mode?
Needless to say these images can be photoshoped up but just not clear where you are starting in the camera.
|
|
#3
05-02-2007, 01:21 AM
|
||||
|
||||
|
There's something to like in all four pictures. I agree with Andrew about #s 1 & 4. That turtle necker is really cool.
I've got to were I don't use anything but manual mode any more. I look at the situation and first decide if I've got enough light to use a low ISO of 100. Then I look at the depth of field I'll need to achieve and try to pick an aperture near the middle of the range (f11 is good, but anywhere from 5.6 to 13 should be both sharp and free of chromatic abberations. With ISO and aperture defined, then I take a look at shutter speed. If I'm using a tripod I'll shoot as low as 1/30th. If handheld then I need at least 1/125 so I either need to crank up the ISO or get a lot more light on the subject. If you mess around enough with the few variables involved, you'll get it big time. Then it becomes fun. Post some more picture experiments when you get a chance. __________________  Avatar ~ custom crank case cover from 1969 Harley shovelhead chopper Last edited by Buddy Thomason; 05-02-2007 at 12:17 PM.
|
|
#4
05-02-2007, 06:24 AM
|
||||
|
||||
|
I will always shoot in manual mode. Your camera will lie to you 99 % of the time as to exposure. Your meter in the camera will read the reflective light and not the amount of actually hitting the subject. Most of the time it will be close enough to get a fair image. But with the aperture being a touch off, then your shutter speed could be a hair off, before you know it you have a bad exposure.
Last edited by Terrill Hoffman; 05-02-2007 at 06:28 AM.
|
|
#5
05-02-2007, 09:03 AM
|
|||
|
|||
|
all cameras will view the world in zone V (18% grey) same with copiers. The problem is the world is NOT zone V, some zone III and some zone VIII. With each shift from zone V you have to compensate, or correct.
One of the best ways I have used to see this in action is to take a color chart and mount the camera on a tripod and go thru the range of shutter speeds and f/stops and note the settings. Then adjust the light and go thru the whole range again and note the differences. Also worth noting is #3 and #4. The metering points are not the same. One is on the background and the other is on the handle (seems to be that is). Also I would check the white balance. Ed __________________ Gold is for the mistress - silver for the maid Copper for the craftsman cunning in his trade. "Good!" said the Baron, sitting in his hall But steel - cold steel is master of them all. Rudyard Kipling (1865 - 1936)
|
|
#6
05-02-2007, 12:52 PM
|
||||
|
||||
|
Quote:
Most DSLR cameras allow you to select the point in the image you want to meter from and that's what I like to do. You may also be able to control how many metering points are available, like 7 or 14 or 42 or whatever. Another approach that most cameras allow is to choose one of maybe three general metering options: spot, average and center-weighted average. Selecting one of these will tell the camera to just meter the center spot and to heck with the rest, meter for the average of the whole scene or meter an average of just the central 10-20% of the scene. Each of these is good for certain things. Most people know that to take a picture of a landscape and sky you have to choose whether to meter the clouds (which makes the hills and trees very dark or even black but shows the clouds beautifully) -OR- meter the hills and trees in the foreground (in which case the detail in the sky/clouds is gone and everything is too white ('blown out' as they say). This is the clearest example of the 'metering' concept that I know of. Almost everybody who has used a point and shoot automatic camera learns this pretty quickly. The same thing happens with a fancy DSLR in full auto mode. So, even if you choose "M" for manual mode so you can choose aperture and shutter speed, you still have to think about metering and, as Ed also says below - white balance, which is a whole 'nother discussion. From a camera settings perspective though white balance and metering present similar decision trees - either you let the camera do it automatically or you select from among several options. __________________ Avatar ~ custom crank case cover from 1969 Harley shovelhead chopper
|
|
#7
05-03-2007, 02:46 PM
|
||||
|
||||
|
Thanks for all the input guys. Picture 3 was manual; 4 was auto. I shouldn't have changed the layout, but the camera mode...I'll take some photos, unedited in photoshop other then to resize. Then I will post them and seek your advice. Learning so I can take better photos...
|
|
#8
05-03-2007, 03:31 PM
|
||||
|
||||
|
Tim, if picture three is manual and four is full auto do you have the ability to view the original files for the camera settings? If you do (i.e Nikon Picture Project) then you can see what the automatic settings were that gave the better exposure. Try a shutter speed of 1/30th and f9. You probably already are using a tripod, but if not you can't really hold this type of shot without a one.
I like your idea about posting the same set-up without changing anything but the camera settings.
|
|
#9
05-04-2007, 01:27 AM
|
|||
|
|||
|
If you are going to shoot manual mode then you want to set the metering system on the camera to spot or as close to spot as you can get. When you get into the more complex metering modes is when you start loosing control in a major way and very fast. I come from an underwater photography area and in that situation we predial all the settings then plan the scene from there. Everything dialed in and all you have to do is click.
The exif shows this: Photo #3 F/11 1/60. Photo #4 F/5.6 1/320. Metering mode is pattern on both. Actually the more I look at these photo's the more I would have to say photo #3 is far better than photo #4. photo #4 does give a deceptively higher appearance than #3 but #3 has alot more realistic value to it, does not have that washed out mutted appearance from #4. A photo should command attention and draw you into the material, #4 fails to do that but #3 does. I can also see more detail on #3 than with #4. Ed __________________ Gold is for the mistress - silver for the maid Copper for the craftsman cunning in his trade. "Good!" said the Baron, sitting in his hall But steel - cold steel is master of them all. Rudyard Kipling (1865 - 1936)
|
|
| Tags |
| knife, knives, switchblade |
| Currently Active Users Viewing This Thread: 1 (0 members and 1 guests) | |
|
|


 Linear Mode

